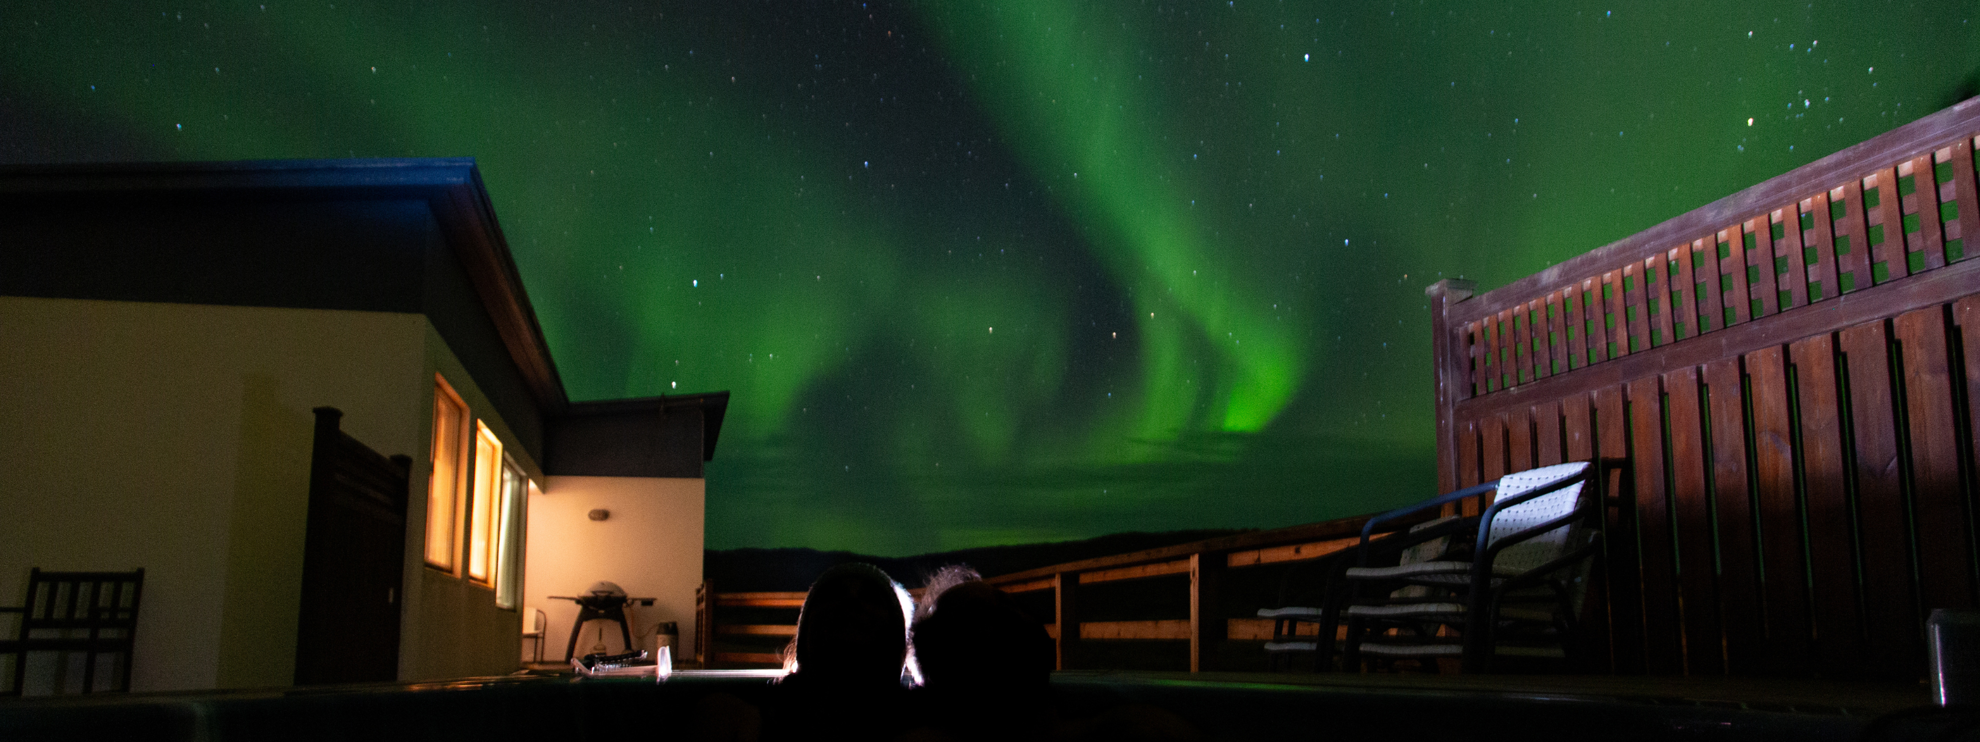
Embarking on a journey to capture the Northern Lights is a dream for many, but lugging around heavy camera gear can be a daunting task. Fortunately, with the right techniques and a bit of preparation, you can capture the mesmerizing dance of the auroras while traveling light. Here are some essential tips to help you make the most of a Northern Lights adventure in Iceland.

Choosing the Right Gear
When it comes to capturing the Northern Lights, having the right gear is crucial. However, you don’t need to carry an entire photography studio with you. Here are some essentials:
-
Camera: A lightweight mirrorless camera with manual settings is ideal. Ensure it has good low-light performance.
-
Lens: A wide-angle lens with a fast aperture (f/2.8 or lower) will help you capture more of the sky and let in more light.
-
Tripod: A compact, lightweight tripod is essential for stable long-exposure shots.
-
Extra Batteries: Cold weather can drain batteries quickly. Bring extras to ensure you don’t miss out on capturing the lights.
-
Pro tip - In extreme temperatures, you can rig up a hand warmer with a rubber band around the battery grip of your camera body to ensure your batteries stay warmer for longer.

Understanding the Basics of Night Photography
Mastering night photography is key to capturing stunning images of the Northern Lights. Here are some basic tips to get you started:
Manual Settings
Switch your camera to manual mode to have full control over the settings. Adjust the following:
-
ISO: Start with an ISO of 1600-3200. This will make your camera sensor more sensitive to light.
-
Aperture: Set your aperture to the lowest f-number (f/2.8 or lower) to allow maximum light.
-
Shutter Speed: Begin with a shutter speed of 10-20 seconds. Adjust depending on the brightness of the auroras and ambient light.
-
Focus: Manually focus your lens to infinity. Use live view and zoom in on a distant light source to fine-tune focus.

Location and Timing
Choosing the right location and timing your expedition is crucial for successful aurora photography. Iceland offers some exceptional spots, but certain factors can enhance your chances:
Best Locations in Iceland
While Reykjavik offers some accessibility, consider venturing to more remote locations to avoid light pollution:
-
Thingvellir National Park: Not only a UNESCO World Heritage Site but also a fantastic spot for seeing the Northern Lights. The combination of historical significance and natural beauty makes it an ideal location for aurora photography. We will spend about 1 to 2 hours walking and viewing in the Thingvellir area on day 2 of our winter Iceland trip.
-
Hotel Fljotshlid on the Farm Smaratun: This family-run farm and hotel, with no light pollution, offers a serene and picturesque setting for viewing the Northern Lights. The surrounding Eyjafjallajokull volcano adds a dramatic backdrop to your experience. We plan to stay here for two nights on our winter Iceland trip.
-
Hotel Klaustur: Located in the remote southeast, this hotel offers another great opportunity for Northern Lights sightings. Its secluded location amidst wild landscapes makes it a perfect base for aurora hunting. We plan to stay here for the final two nights of our winter Iceland trip.
Best Time to Visit Iceland for Northern Lights
The best time to visit Iceland to witness the Northern Lights is from late September to early April. During these months, the nights are long and dark, offering the ideal conditions for aurora viewing.
While the lights can occasionally be seen as early as mid-August, the autumn equinox in late September is when they become more frequent, thanks to increased solar activity and darker skies.
For those planning a trip, it's worth noting that the peak viewing season is often considered to be between November and March when the combination of clear skies and long nights offers the greatest chances of spotting the auroras.
Optimal Conditions
For the best chances of witnessing and photographing the Northern Lights, consider these conditions:
-
Clear Skies: Check the weather forecast for clear skies. Cloud cover can obscure the auroras.
-
Solar Activity: Monitor solar activity through apps like NOAA's Aurora Forecast.
-
Darkness: The darker the environment, the better. Avoid full moon nights and light-polluted areas.

Additional Tips for Capturing the Northern Lights
Here are some additional tips to enhance your Northern Lights photography experience:
-
Dress Warmly: Iceland's winter nights can be extremely cold and windy. Dress in layers and wear insulated boots and gloves.
-
Be Patient: The Northern Lights can be unpredictable. Be prepared to wait and enjoy the natural beauty around you.
-
Experiment: Don’t be afraid to experiment with different settings. Each aurora display is unique, so adjust your settings accordingly.
-
Bring a Headlamp: A headlamp with a red light option is handy for adjusting your camera settings without disturbing your night vision.

Final Thoughts & Night Sky Wishes
Capturing the Northern Lights while traveling light is entirely possible with the right preparation and mindset. By choosing the right gear, mastering night photography basics, and selecting the optimal location and timing, you can create unforgettable memories of this celestial phenomenon without being weighed down by heavy equipment.
Ready for Your Aurora Adventure?
Looking to witness the Northern Lights in Iceland during peak season but don’t want to worry about all the planning that goes into the perfect itinerary? We’ve got you covered!
We offer a thrilling adventure across Iceland’s top landmarks in early March - the perfect time of year to explore the luscious landscapes of Iceland by day and capture Lady Aurora by night.
So pack your bags, get ready for an adventure, and may your nights be filled with the magical dance of the auroras!
Learn more about traveling to Iceland with Adventures in Good Company here!


