Yes, your trusty hiking boots are made to withstand mud, gravel, and rainy conditions, but that doesn’t mean they don’t need a little TLC. Regularly cleaning your boots helps extend their life and ensures they keep you safe and comfortable on the trail.
If you’re tired after a long day on the trail, it’s understandable to put off cleaning your boots. However, try to clean them within a day or so after a muddy or dusty hike. Leaving dirt particles, sand, or mud on your boots can lead to quicker wear and tear. Dirt particles can embed themselves into leather or fabric, and dried mud can sap moisture, making the material stiff and prone to cracking over time.
Cleaning your hiking boots is an easy, low-maintenance process. You don’t need fancy tools—most supplies are things you’ll already have at home. Follow these five steps to keep your boots in top shape.
Step One: Remove Laces and Insoles
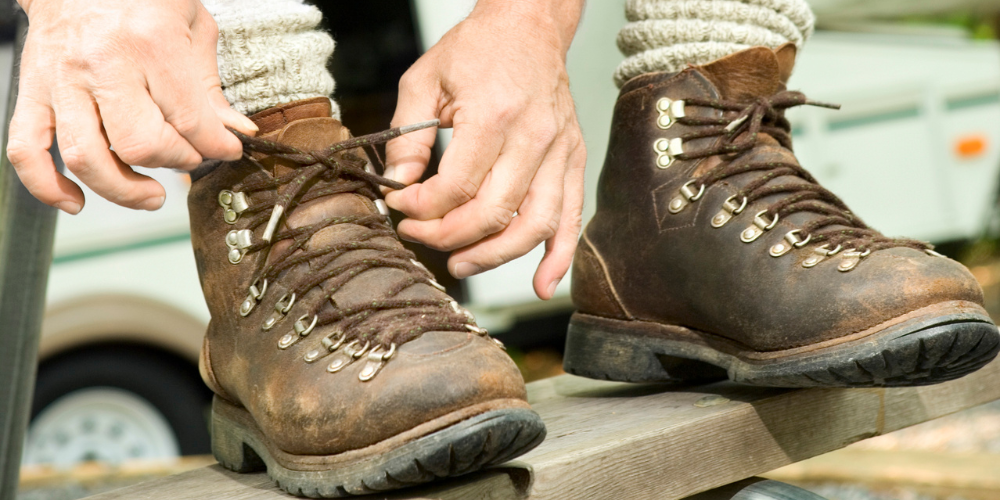
Start by taking out the laces and insoles. This allows you to reach areas that are usually hidden, making it easier to give your boots a thorough clean.
Step Two: Brush Off Loose Dirt
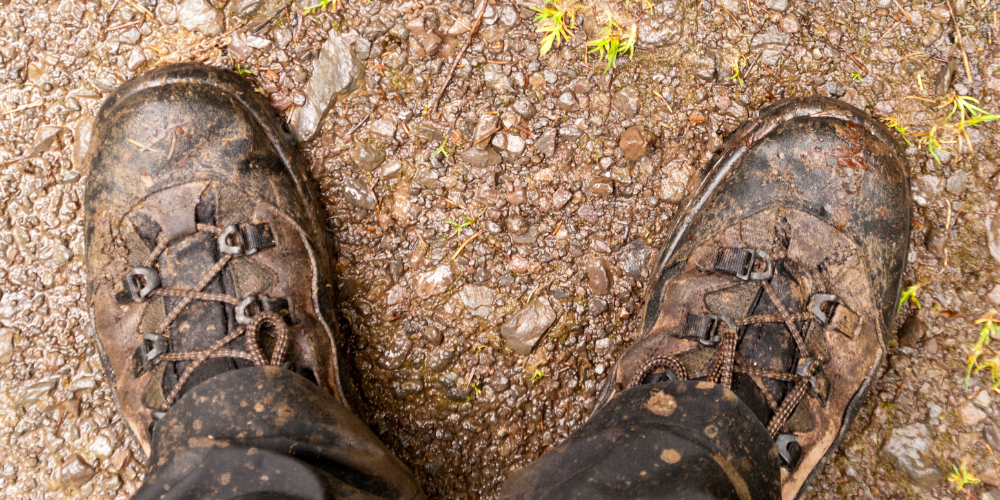
Before diving into deeper cleaning, gently brush off any loose dirt with a cloth or a soft-bristle brush. Removing surface dirt prevents it from becoming embedded and speeds up the cleaning process.
Step Three: Clean Your Boots
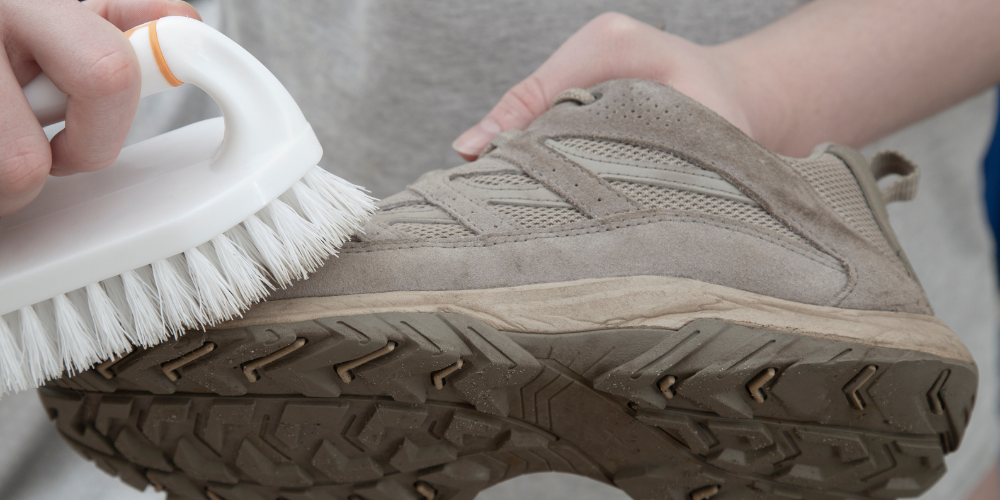
Now it’s time to tackle the grime. You can use a specialized boot cleaner or a mild solution of dish soap and water. Avoid harsh detergents or bar soap, as these can damage the leather and reduce the boot’s waterproofing.
For the cleaning tool, you have options: a rag, a boot brush, an old vegetable brush, or even a toothbrush for tight spots. Be sure to clean both the exterior and the soles, focusing on any ridges where mud or grit can get trapped.
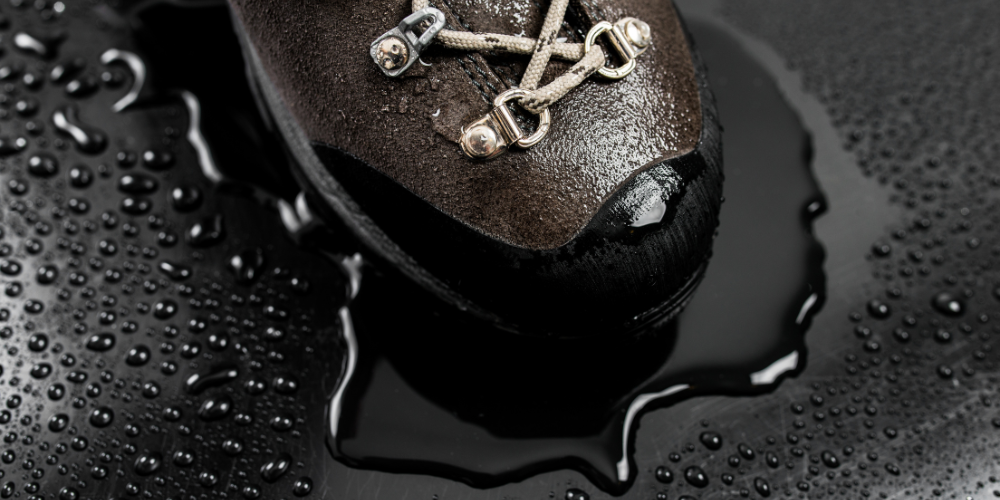
Step Four: Rinse Thoroughly
Once the boots are lathered, rinse them thoroughly with clean water to remove any soap residue. You can spray them with a hose, hold them under a faucet, or use a damp cloth to wipe away suds. Make sure all soap is rinsed out, as leftover residue can dry out the materials over time.
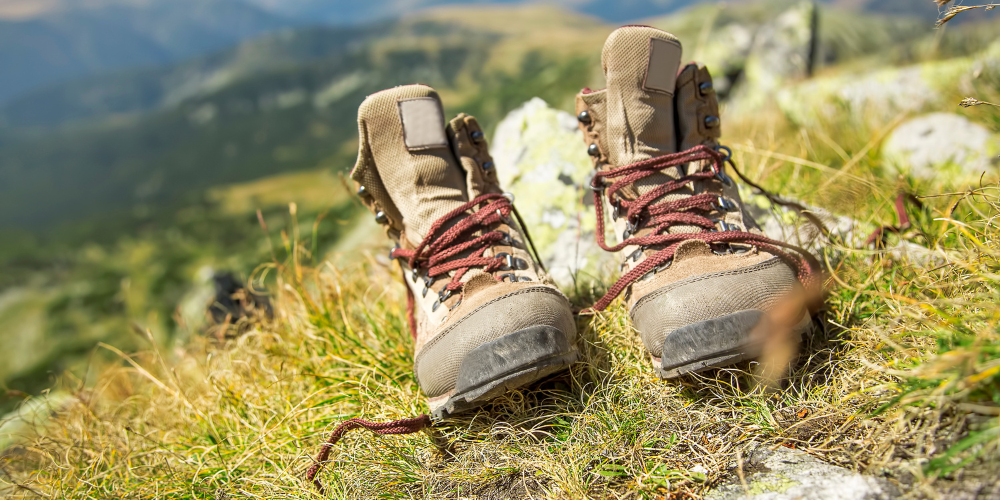
Step Five: Dry Your Boots
Let your boots dry completely before storing or wearing them again. Air drying is best—place them in a cool, ventilated area out of direct sunlight to avoid material damage. You can also use a boot dryer or stuff them with newspaper or paper towels to speed up drying. Avoid using direct heat, as it can warp the materials.
Optional Step Six: Apply Waterproofing
Once your boots are fully dry, you can apply a waterproofing treatment to help maintain their protective coating. Check the product’s instructions to apply it correctly, as different treatments work best for specific boot materials.
And just like that, your boots are ready for the next adventure! Cleaning your boots isn’t hard; it’s just a matter of setting aside a few extra minutes. Regular maintenance means your boots will last longer, saving you money and keeping your feet happy on the trail.

