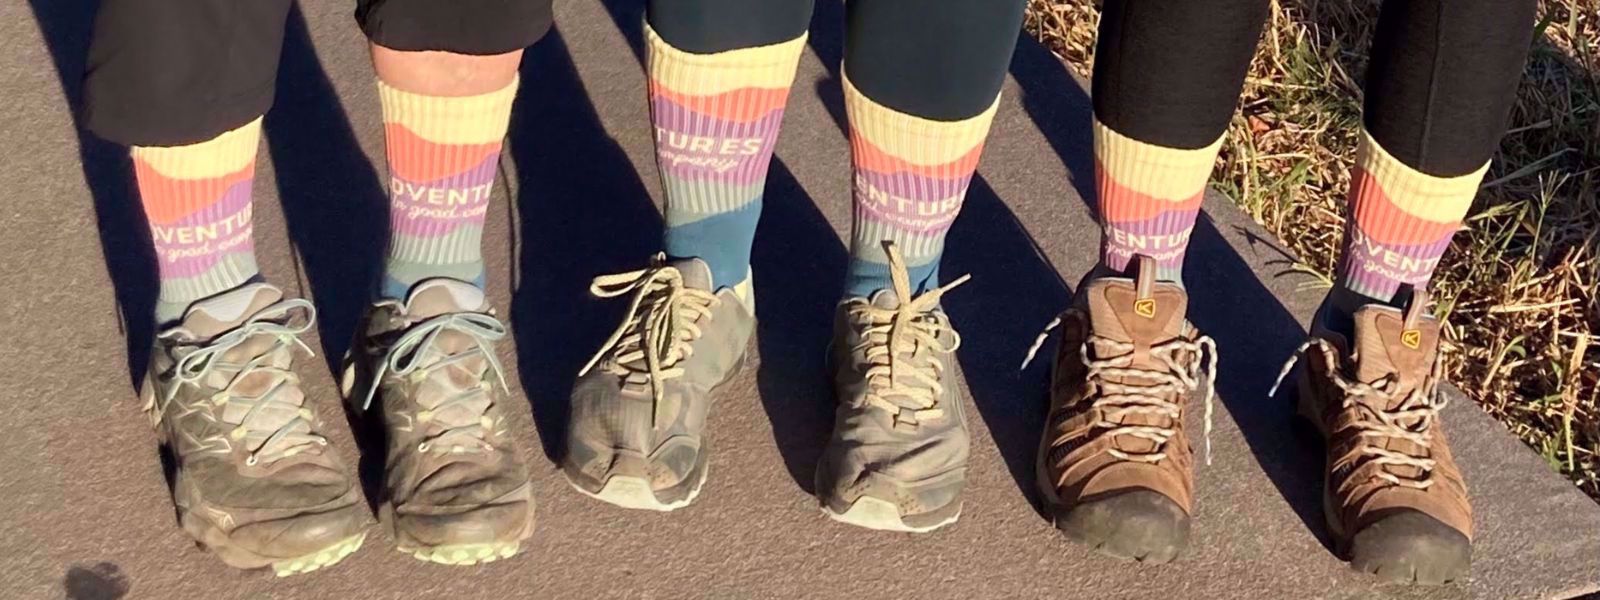
Whether you’re strapping on your hiking boots for the first time or they’re your trusty companions on every trail, you might think that lacing them up is a straightforward task.
However, lacing your boots can significantly impact your hiking experience.
Proper lacing minimizes friction, reduces the risk of blisters, prevents injuries, and boosts stability by keeping your feet securely in place. Taking extra time to lace your boots correctly can enhance your performance and comfort on challenging trails.
Here’s a look at three effective lacing methods designed for hiking boots:
Surgeon’s Knot

How-to:
Adjust the lacing pattern to create a "window" of space where pressure points are common. This technique involves skipping certain eyelets when lacing to relieve pressure or pain.
Pros:
- Prevents Lace Slippage: The additional loop locks the laces in place, reducing the likelihood of them coming undone.
- Enhanced Stability: Keeps the laces from loosening, ensuring that your boots stay snug, and your ankles are supported.
Cons:
- Time-Consuming: This knot can take a bit longer to tie compared to simpler methods.
- Potential for difficulty: If not executed correctly, it may be harder to untie the laces.
Window Lacing

How-to:
Start with a regular knot, then create an extra loop by passing the lace through the knot a second time before tightening. The laces will appear to have a swirl look to them. This added loop secures the knot more firmly.
Pros:
- Pressure Relief: This method alleviates pressure on sensitive areas, such as the top of the foot or the sides.
- Customized Comfort: Allows for a personalized fit, accommodating various foot types and pain points.
Cons:
- Fit Adjustments Required: This method may require some trial and error to find the best configuration for your specific boot and foot shape.
- Boot Compatibility: Not all boots have the eyelet configuration needed for this lacing style.
Toe-Relief Lacing

How-to:
For this technique, simply skip the first two buckles closest to your toes and lace up like normal. Starting the lacing higher up on the boot will reduce pressure on the toes and create more space in the toe box. This method is often used when boots have become worn out or when experiencing pain in the front of the foot, toes, or nails.
Start with a regular knot, then create an extra loop by passing the lace through the knot a second time before tightening. The laces will appear to have a swirl look. This added loop secures the knot more firmly.
Pros:
- Reduced Toe Discomfort: Especially useful on downhill hikes or for those with wider feet, as it helps prevent issues like blisters caused by excessive pressure.
- Enhanced Comfort on Long Hikes: By alleviating pressure, this lacing method helps prevent foot fatigue and discomfort over long distances.
Cons:
- Boot Fit Variability: This technique may not be available with all boot designs, particularly those without extra eyelets.
- Adjustment Needed: Balancing toe relief with overall boot support requires careful adjustment and may take some experimentation.
Each of these lacing techniques addresses specific needs related to comfort, stability, and performance, making each valuable for different hiking scenarios. By choosing the right lacing method for your needs, you can significantly improve your hiking experience and ensure safety while exploring the great outdoors. Happy hiking!


